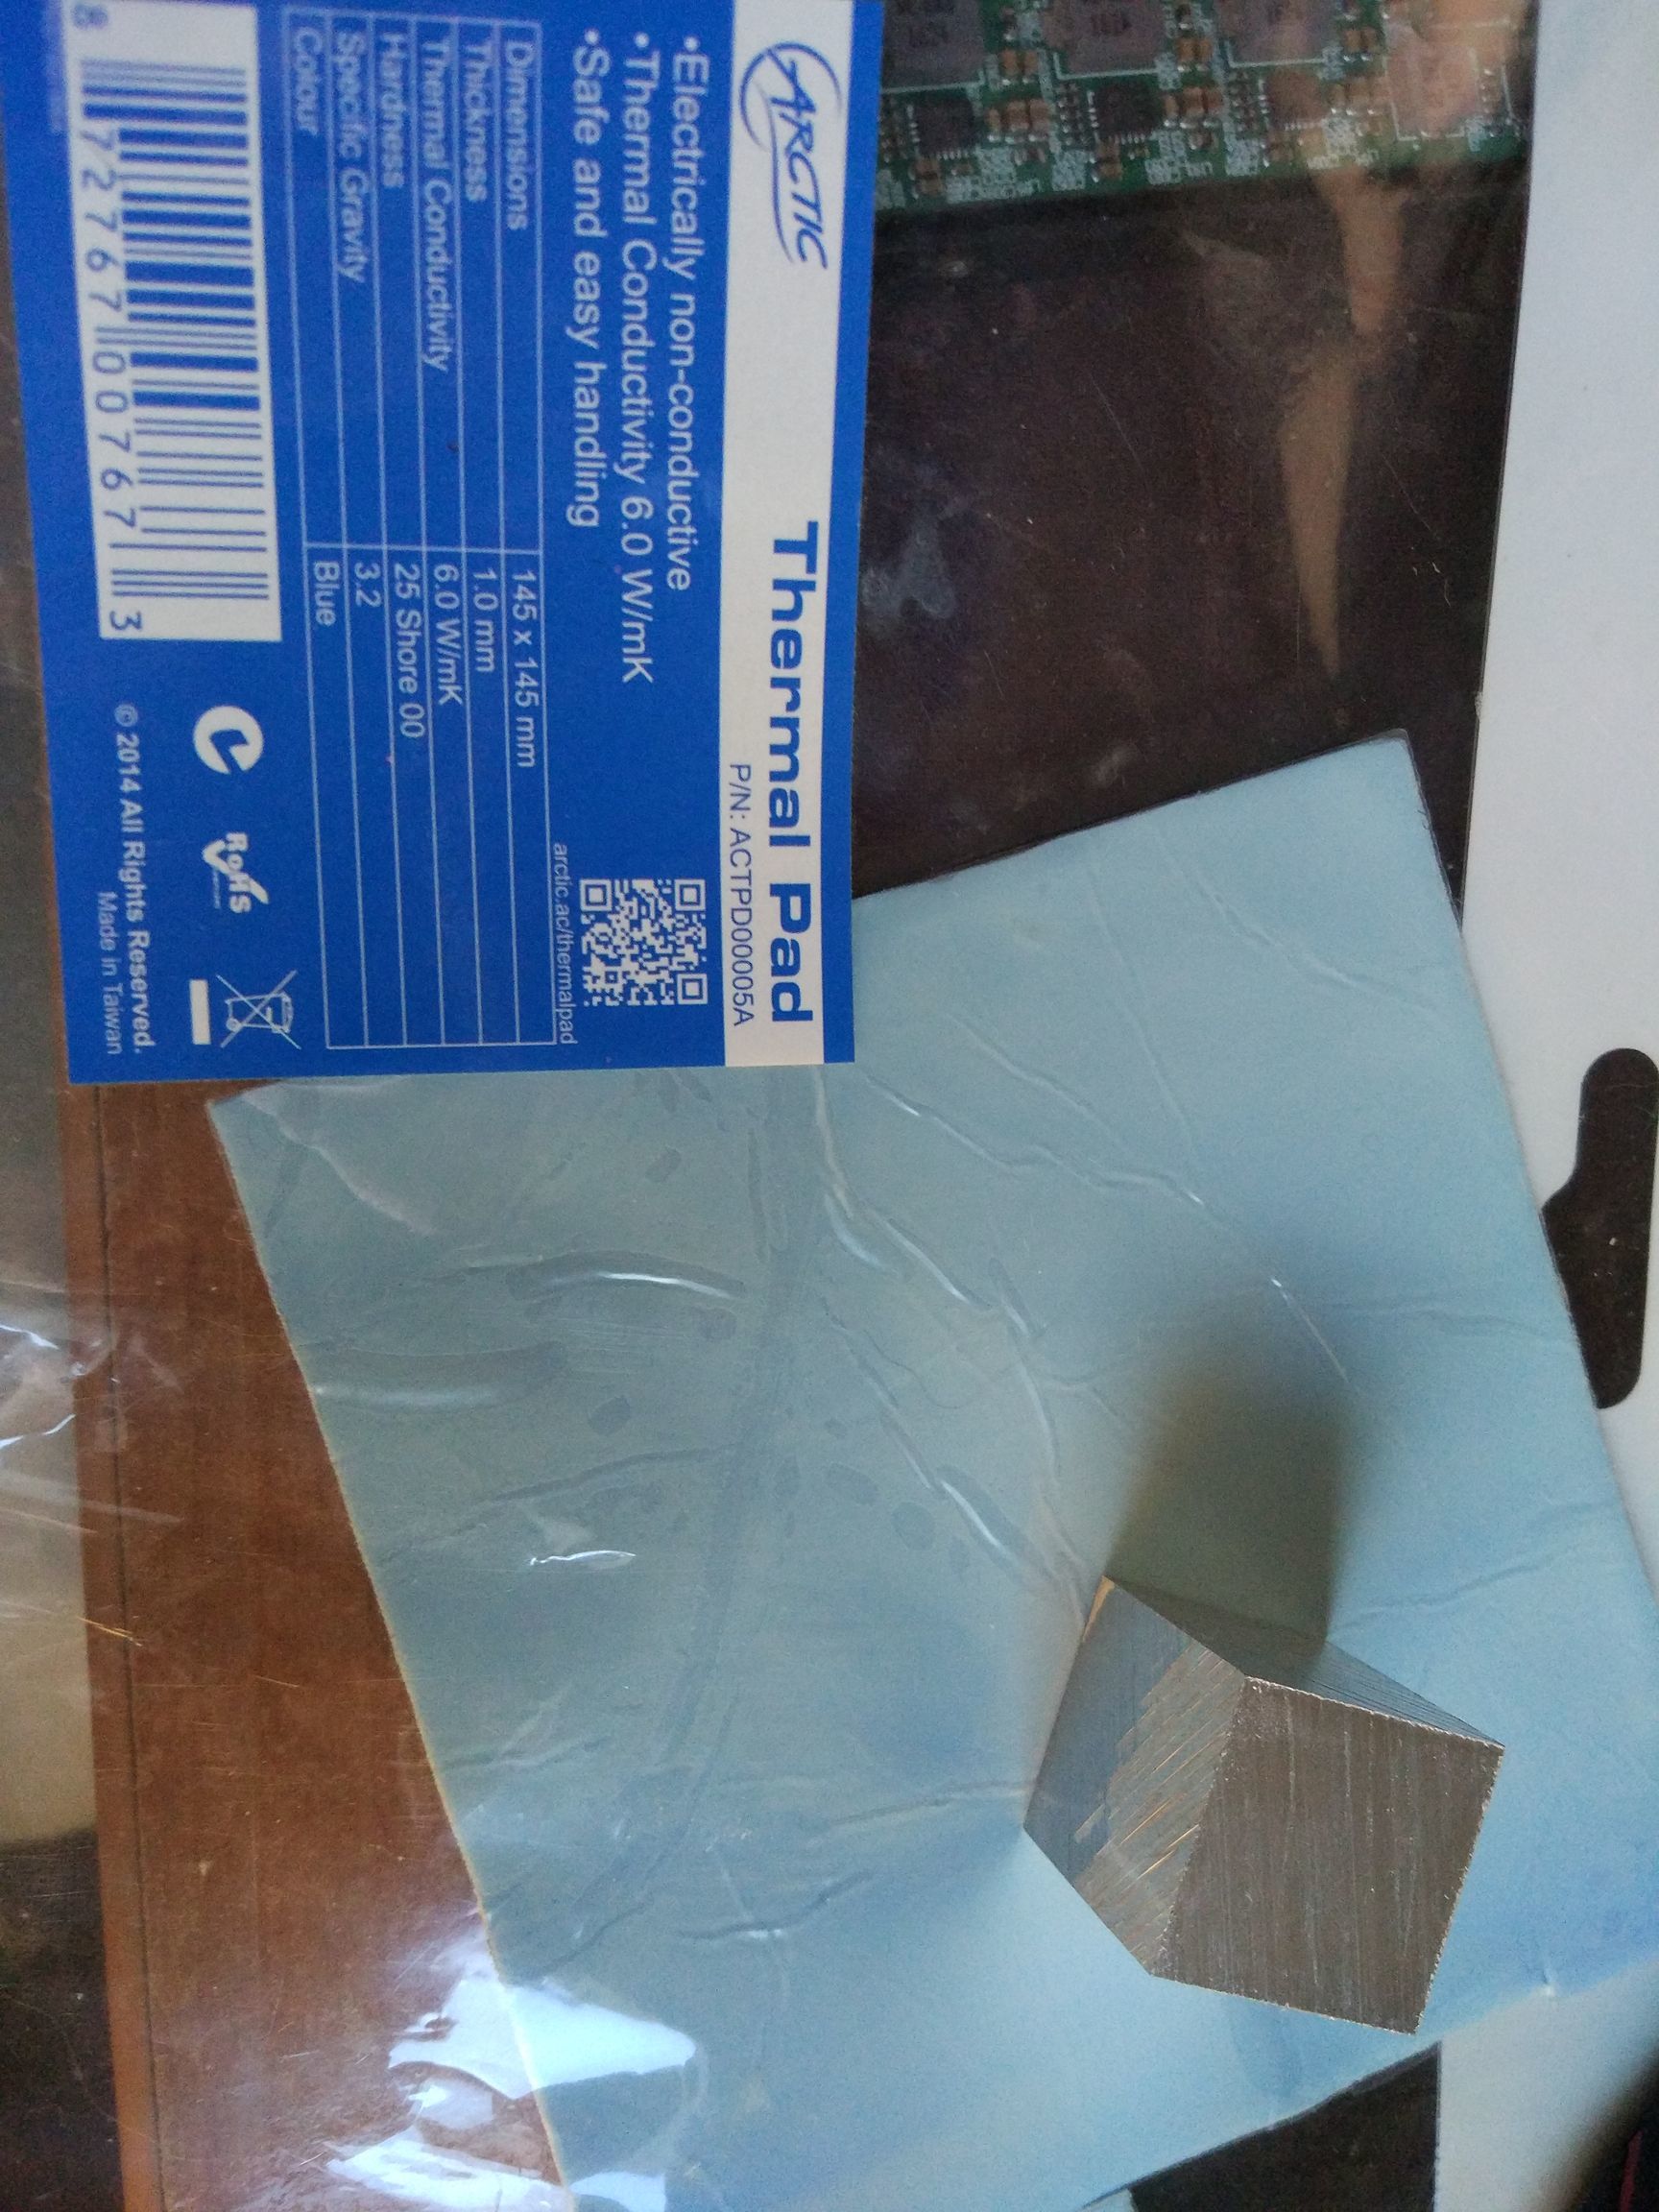
i have changed the thermal pad to arctic cooling pads (ref actpd00005A) wich lowered 10ºC (Before was 72 and now im getting 61) and the case now its more warmer than before.
the next test its change thermal pad to artic ceramique and see how much lowers the temp.
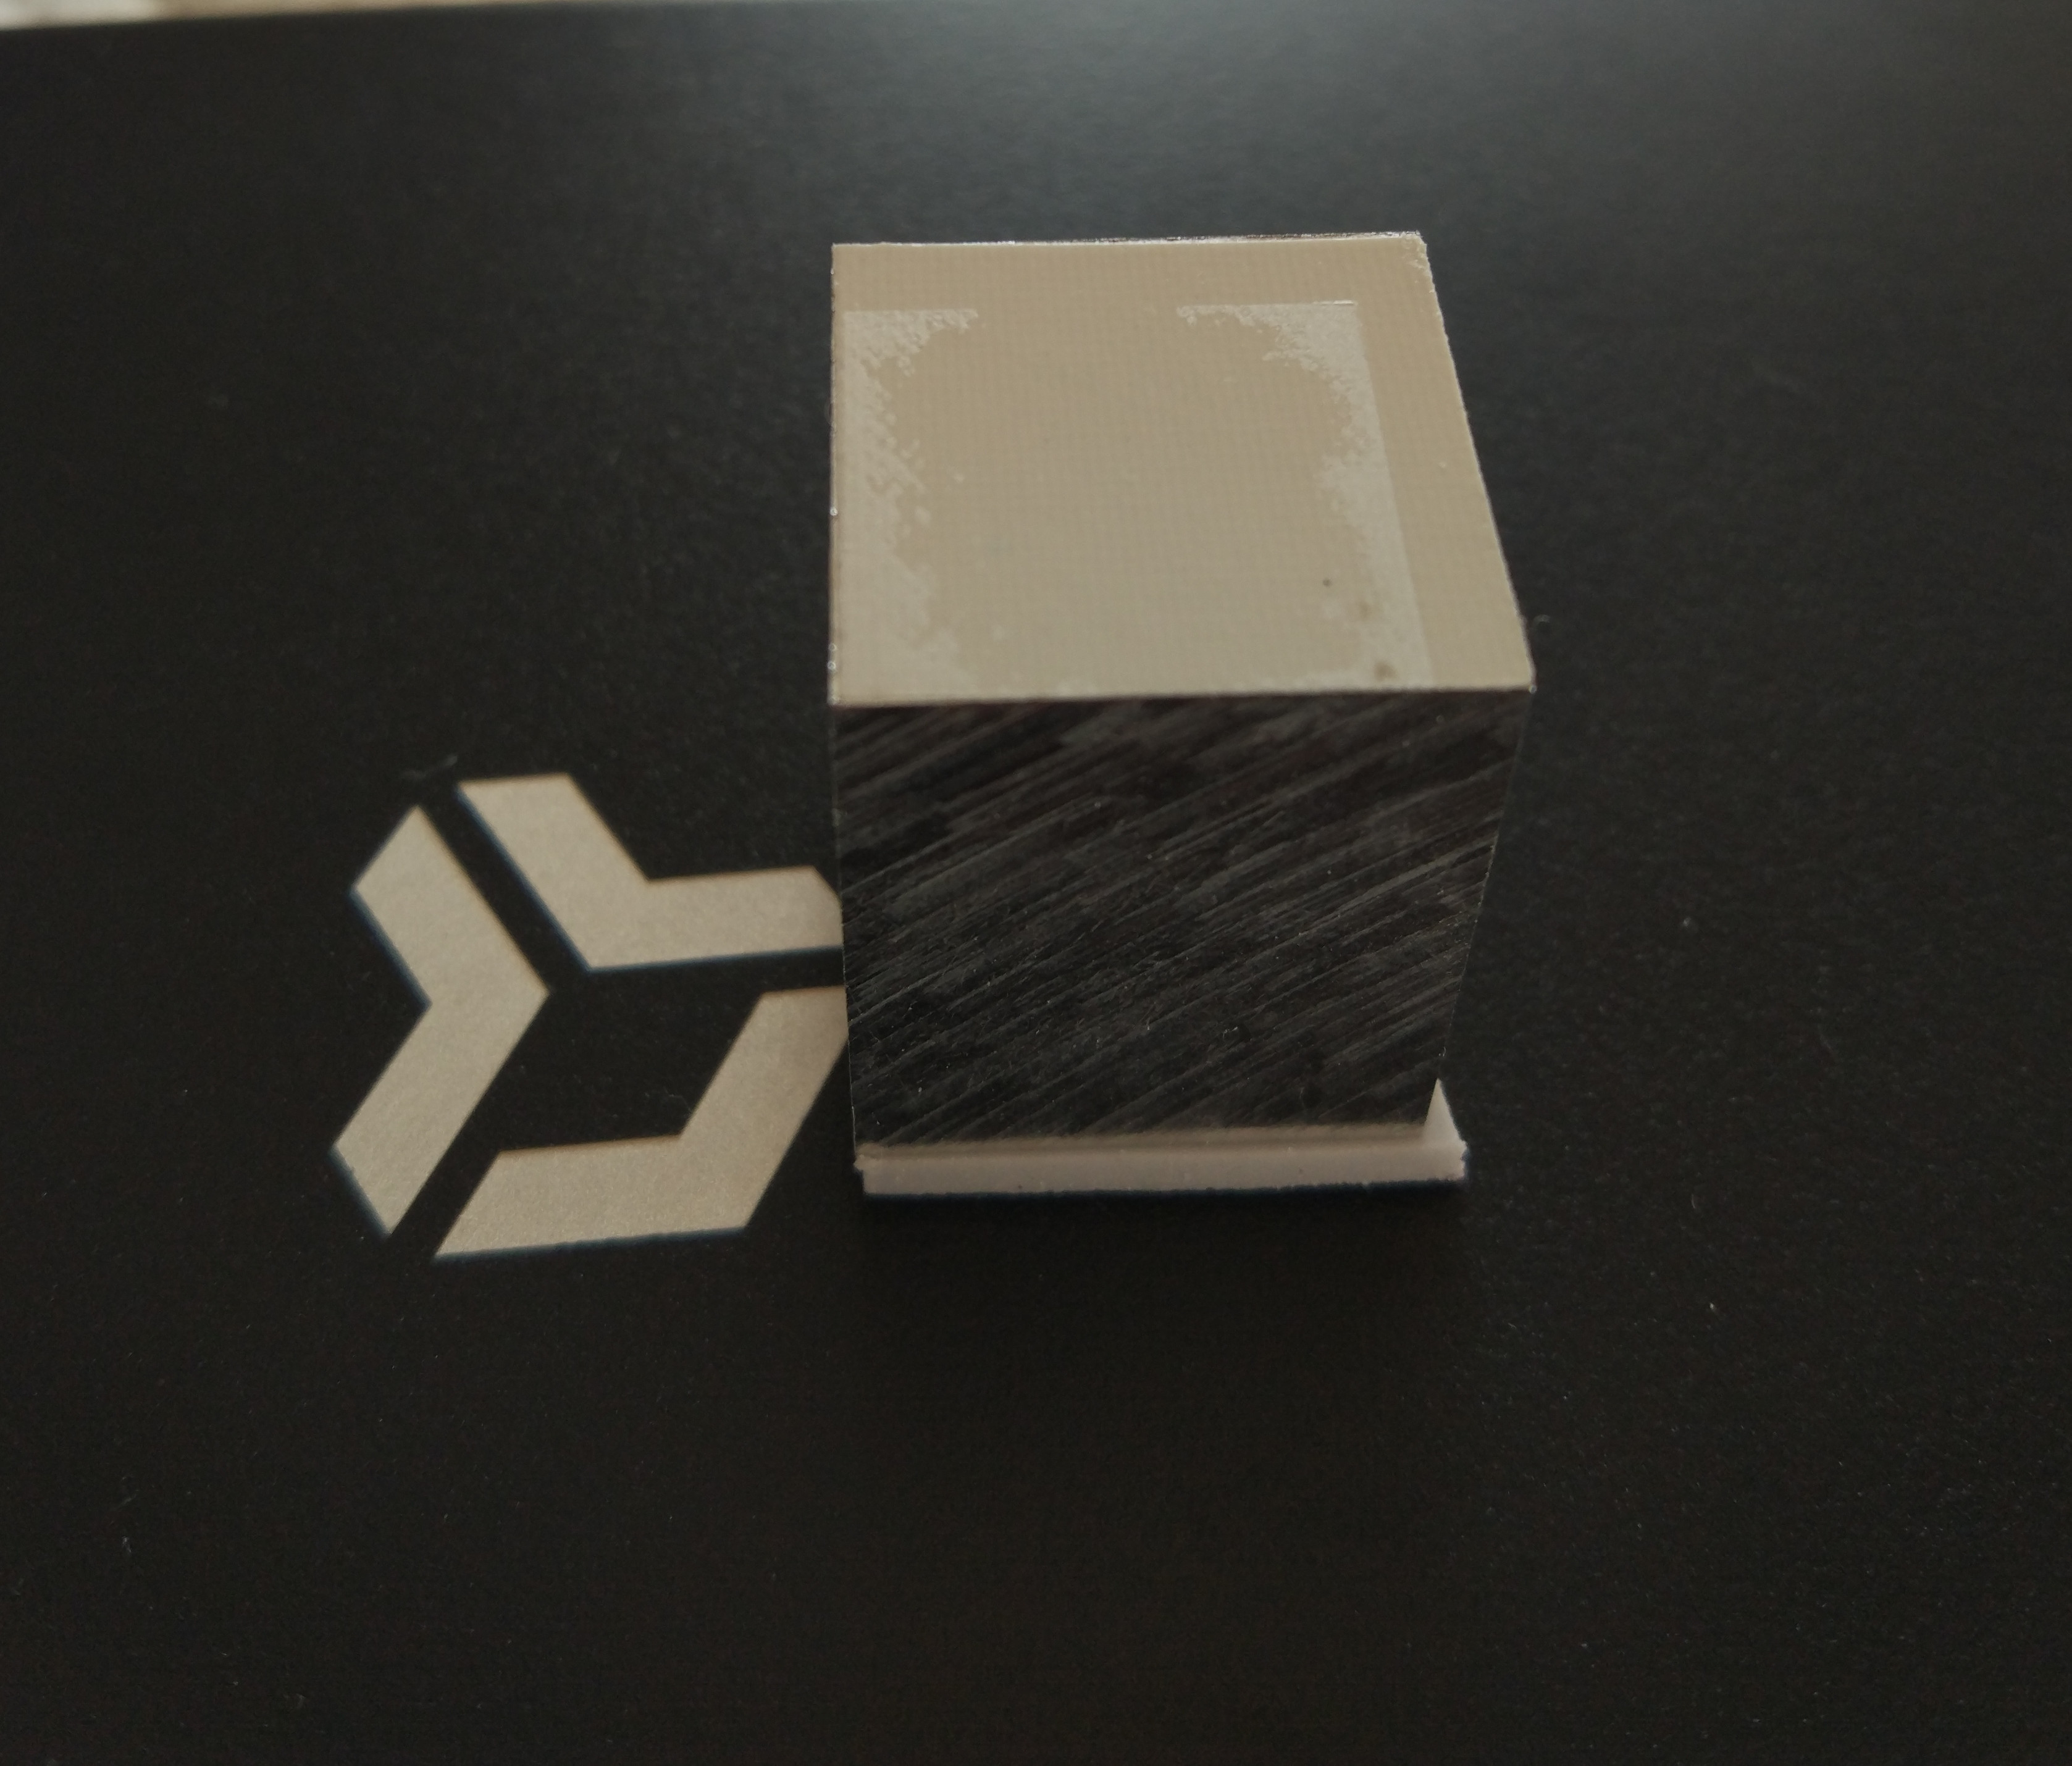
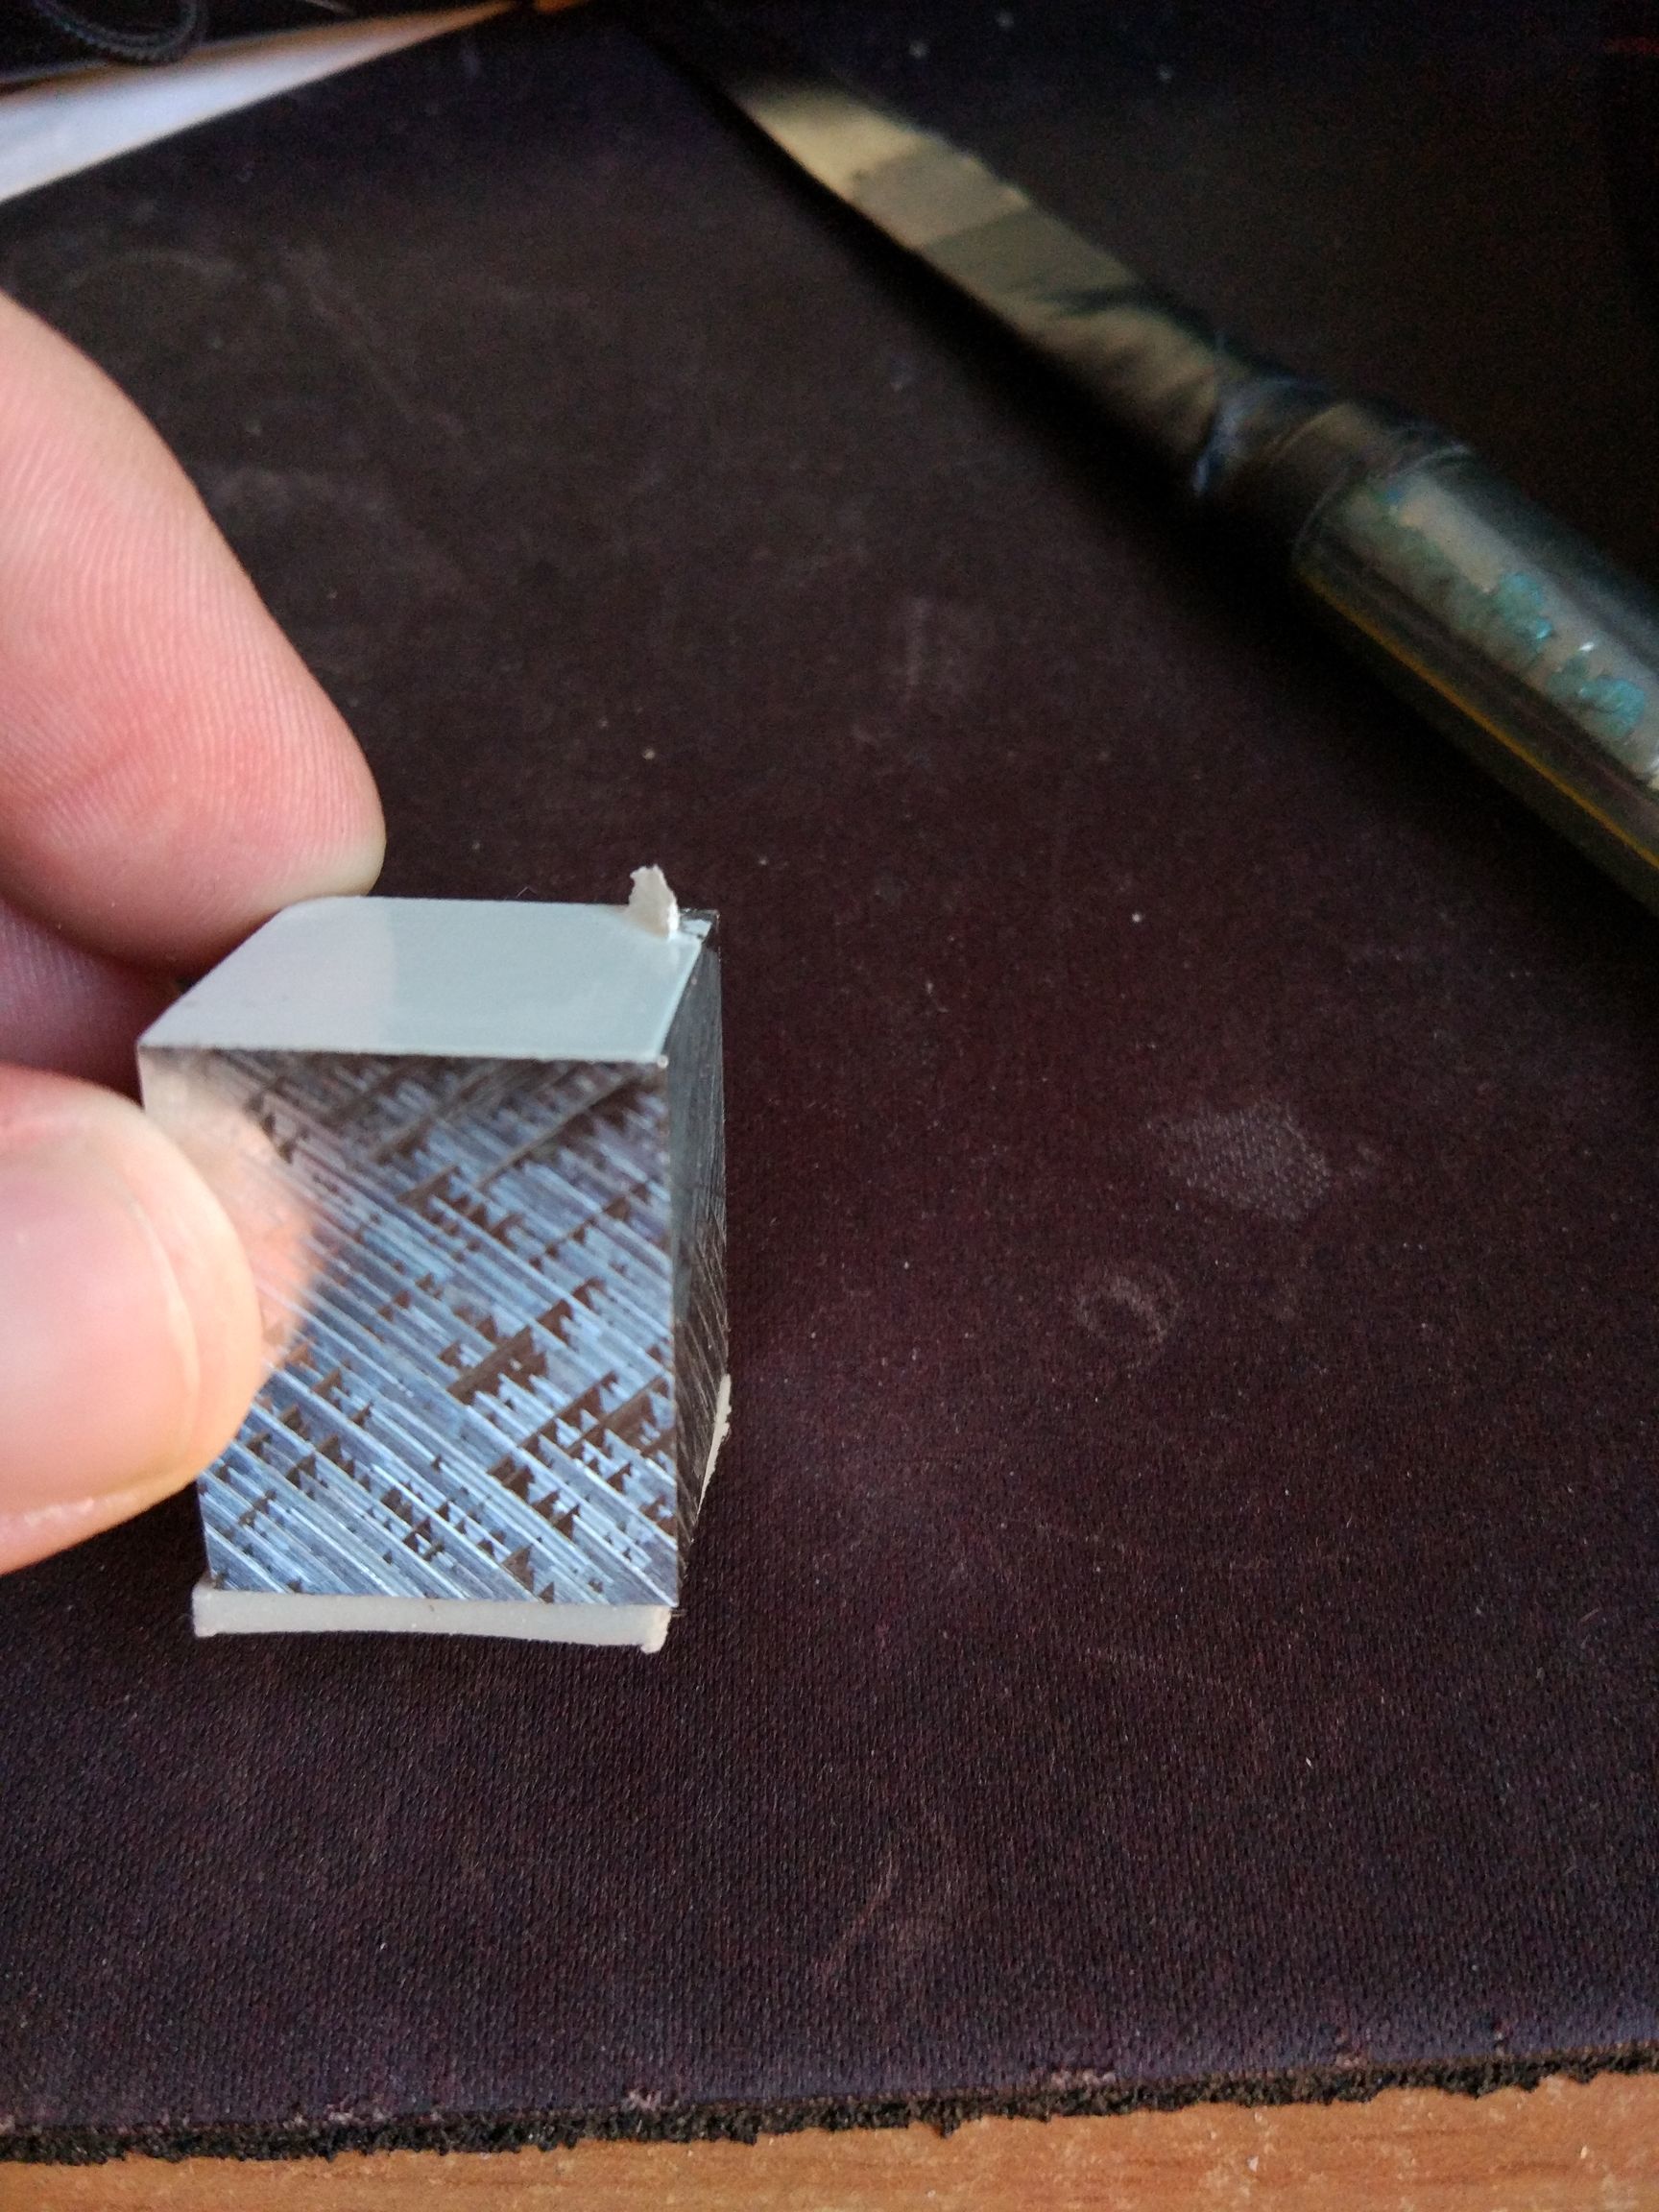
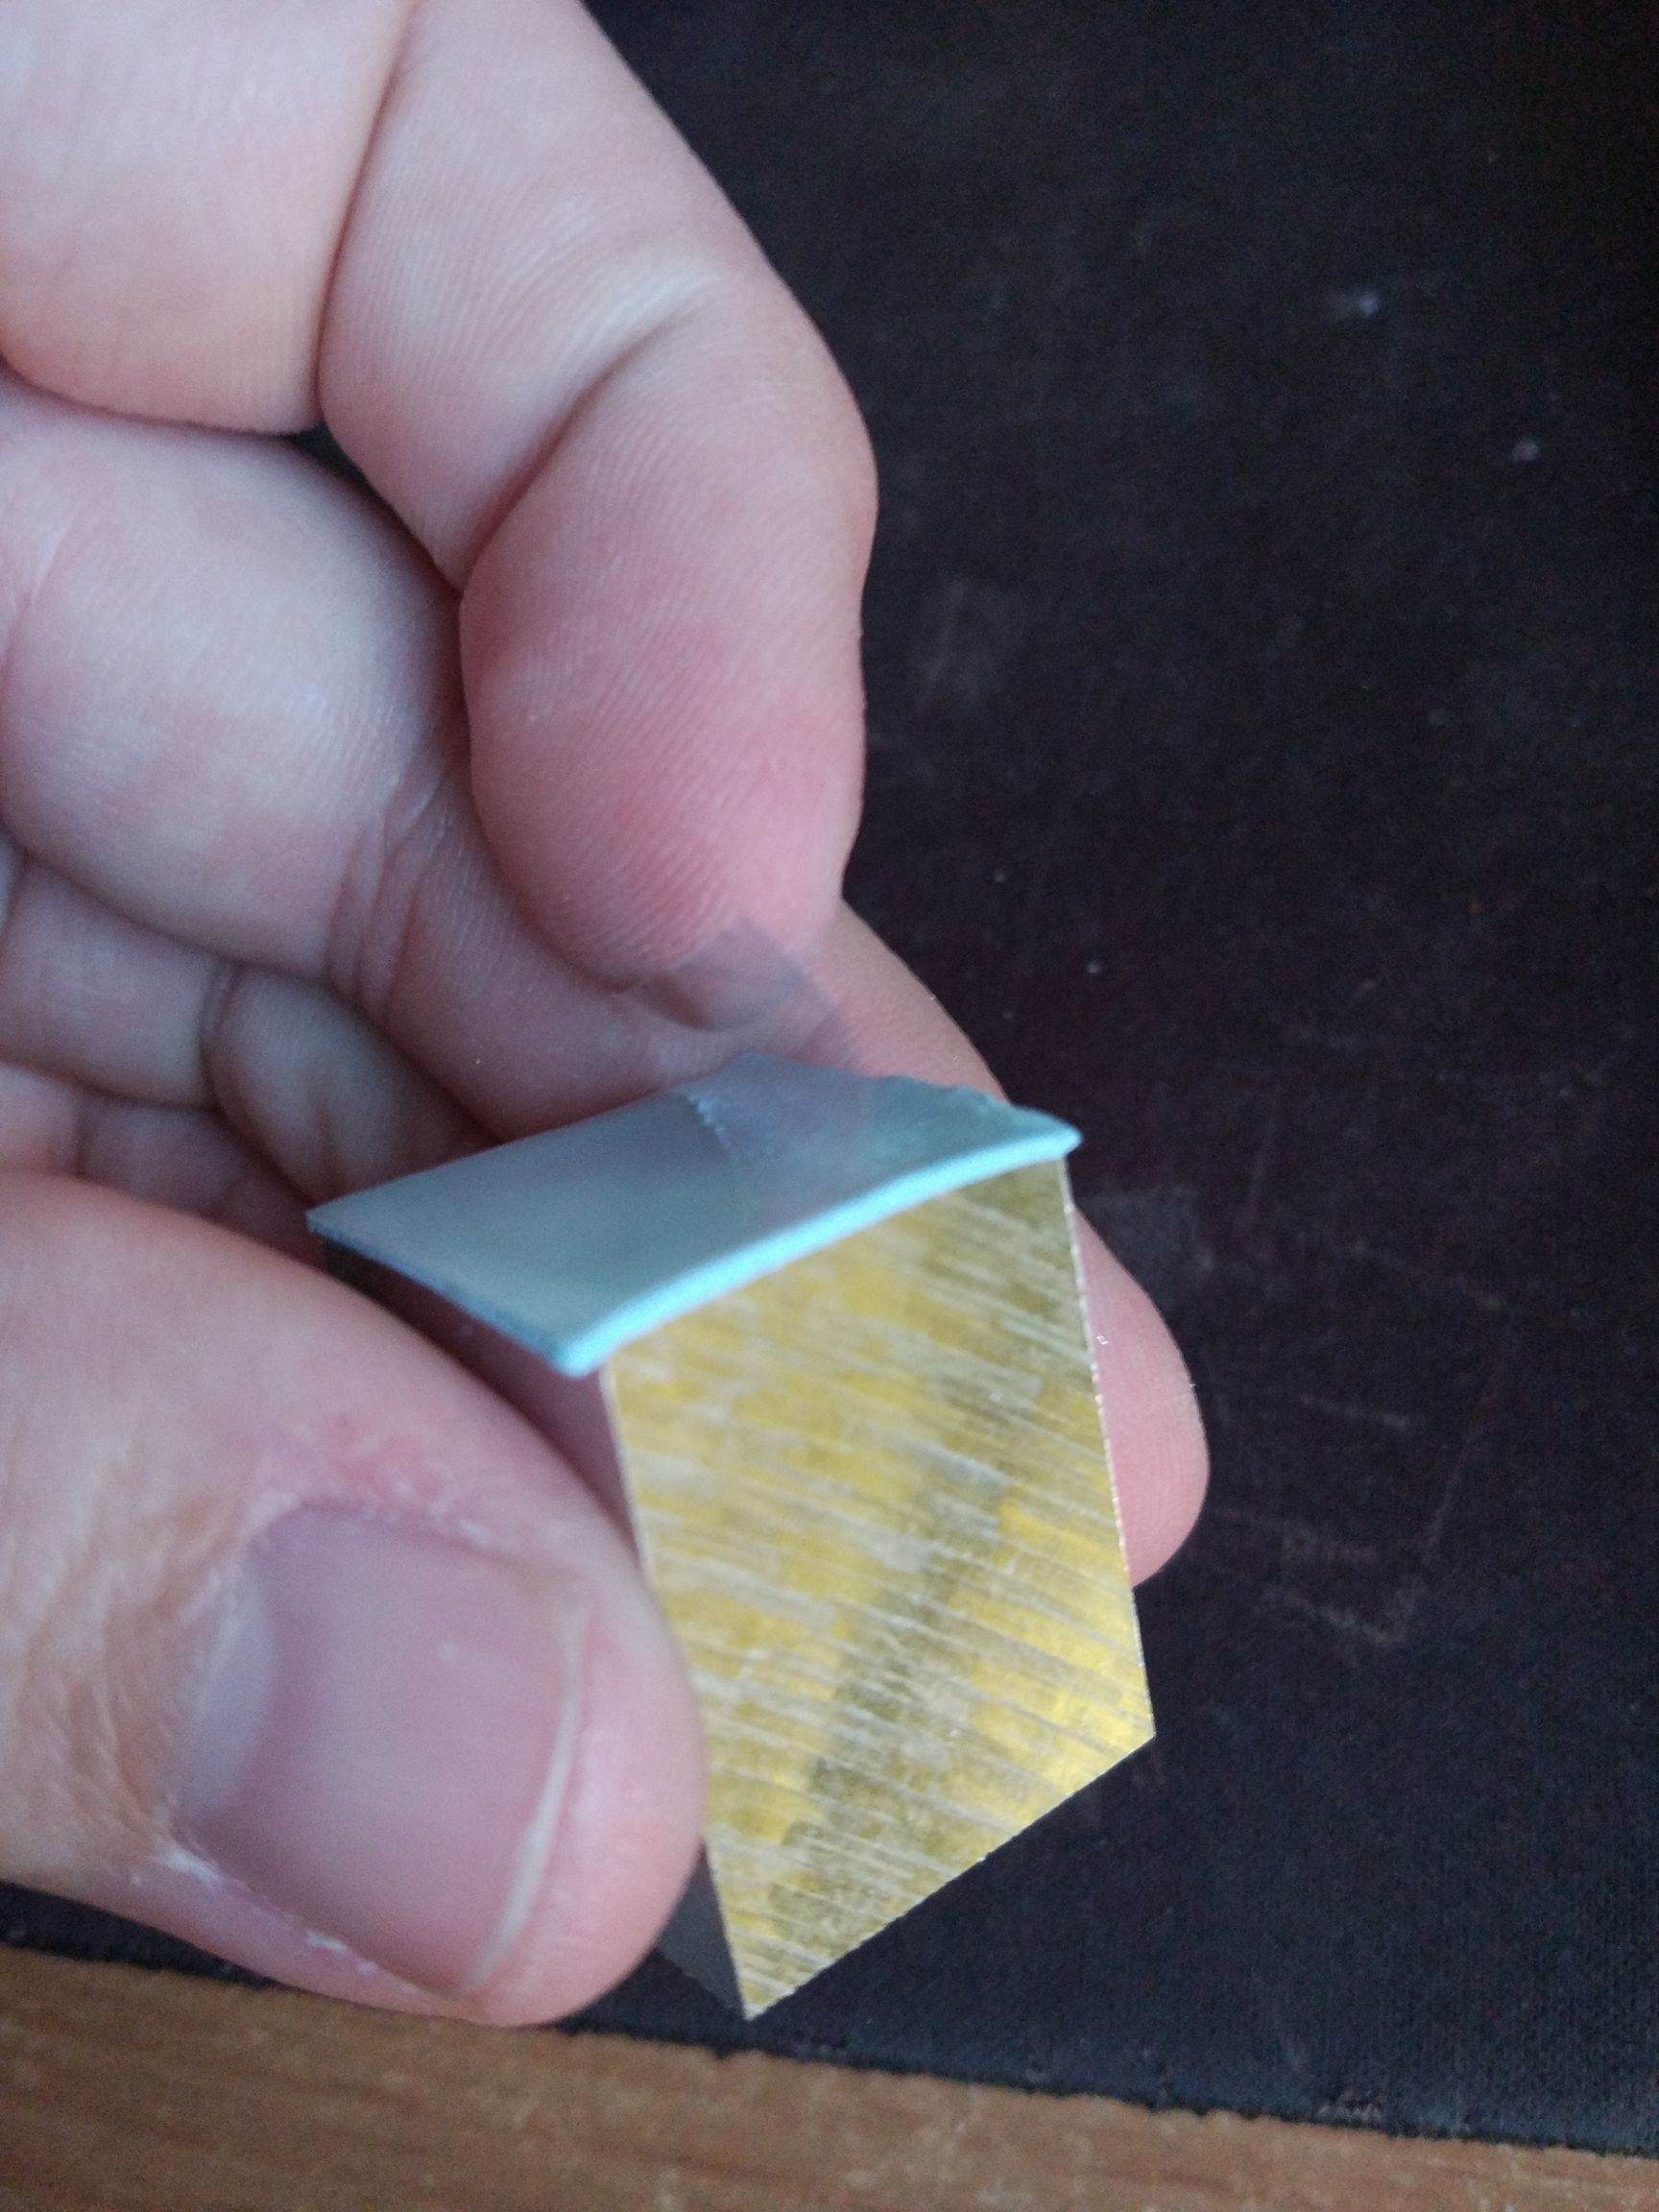
i have changed the lower pad the sticky pad (in the processor). the original 2mm thick its on the top of the aluminium block , ther arctic pad its 1mm thickness
I changed the arctic pad with artic ceramique and now it getting 59ºc in the CPU…
all temperatures in idle
Im keeping testing it now im going to test 15min with stress app
after test (15min stress ) the max temp archieved it 83ºC with arctic ceramique
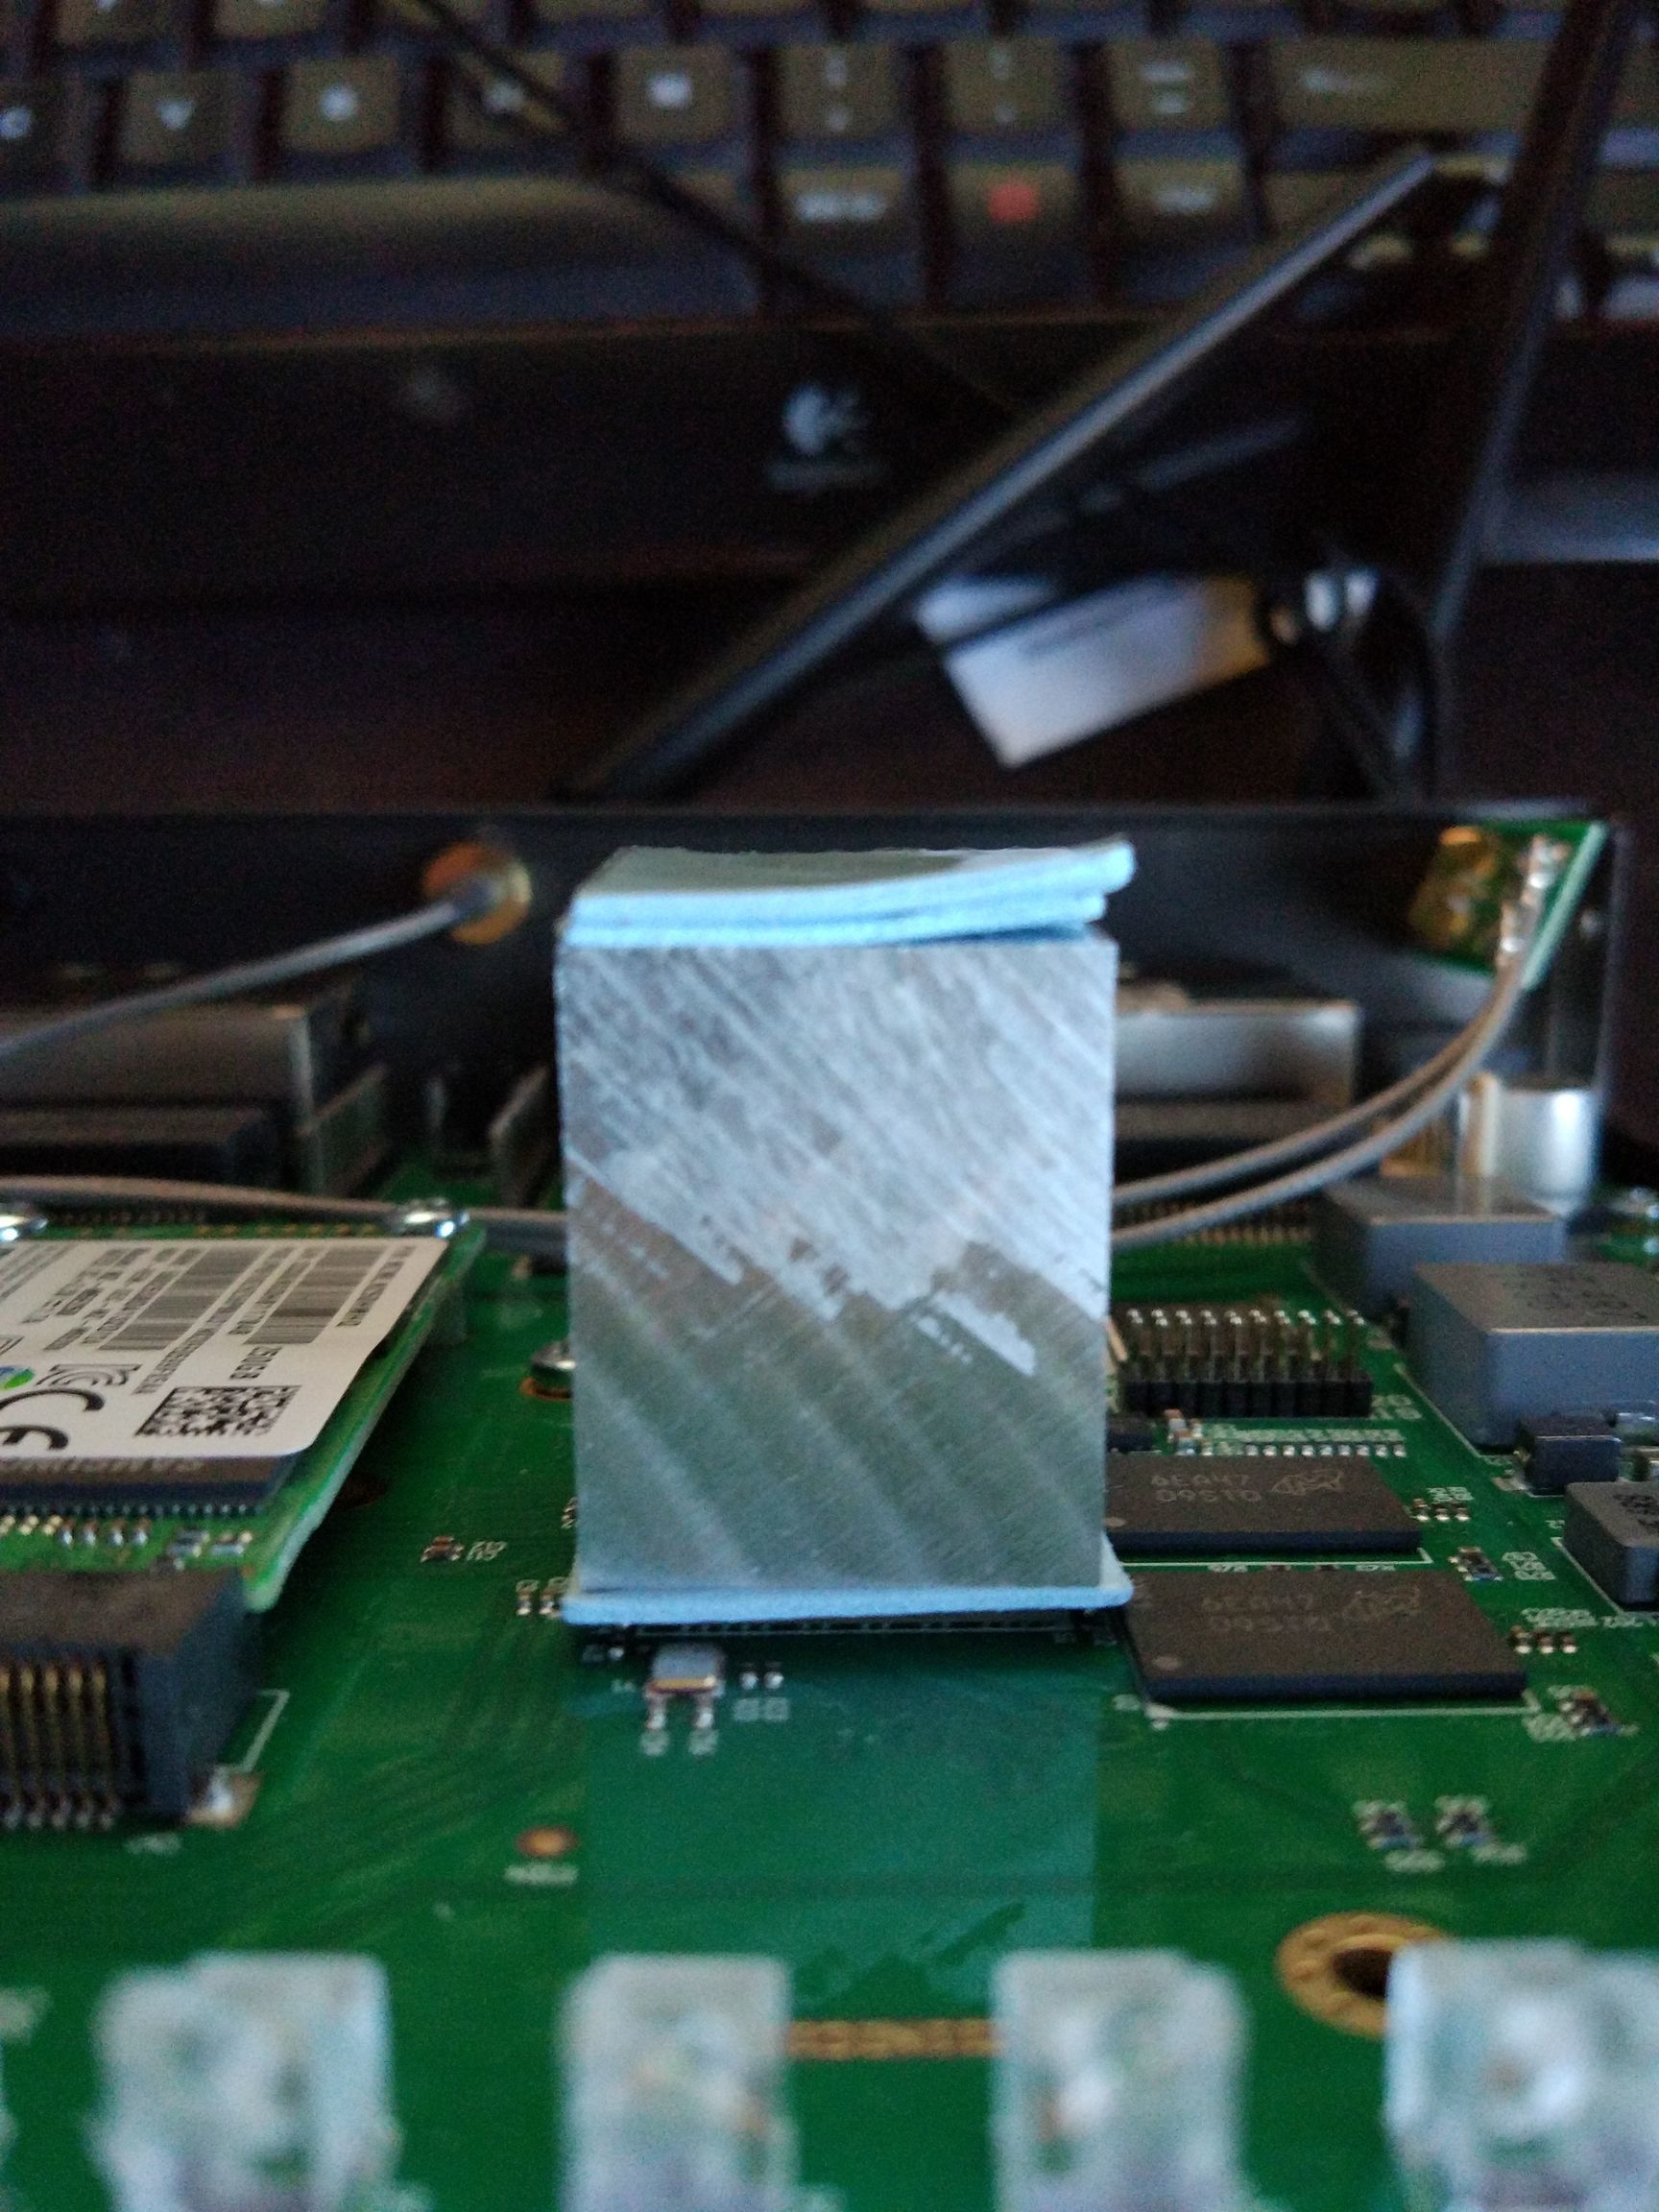
Finally with 2 layers thermal pad on top for proper contact with case (slighty presure) and 1 layer of thermal pad on the cpu im gettin after 15min stress 81ºC . in idle im still getting 61ºC
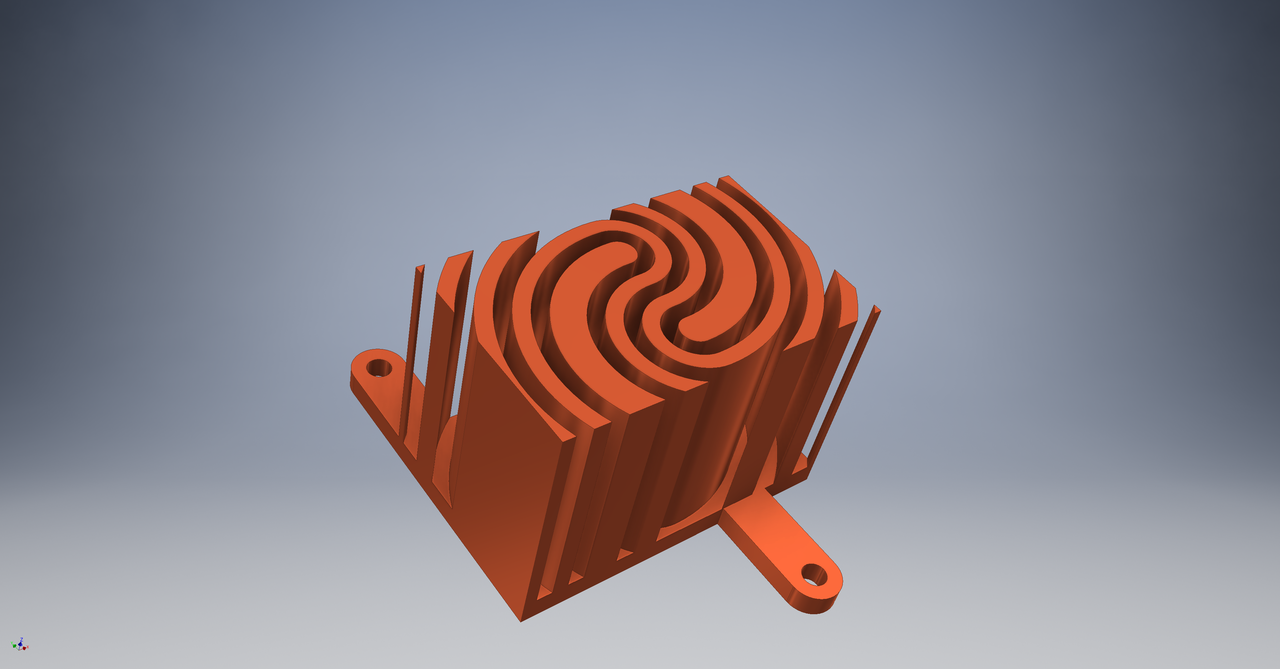
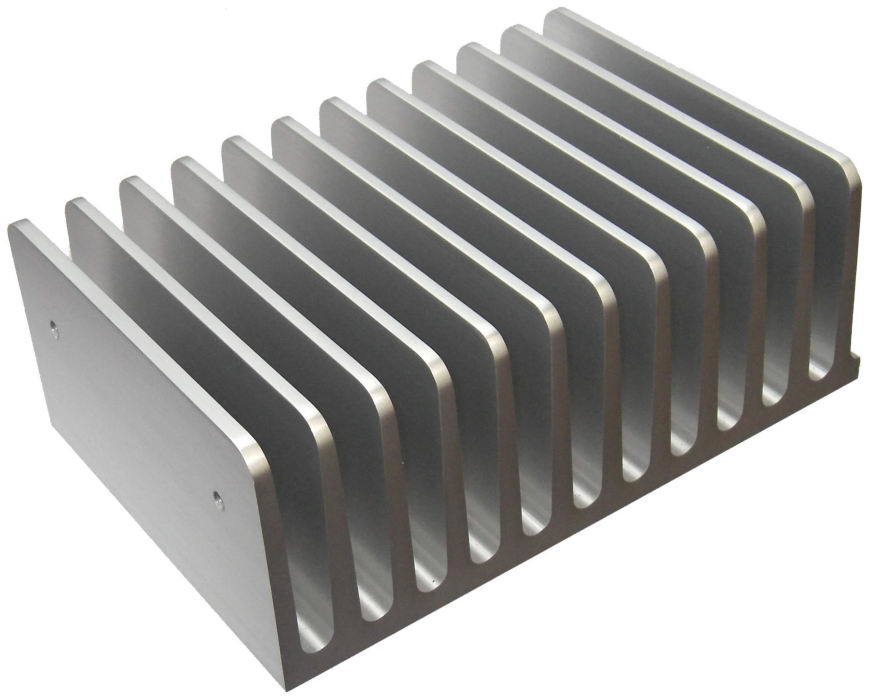
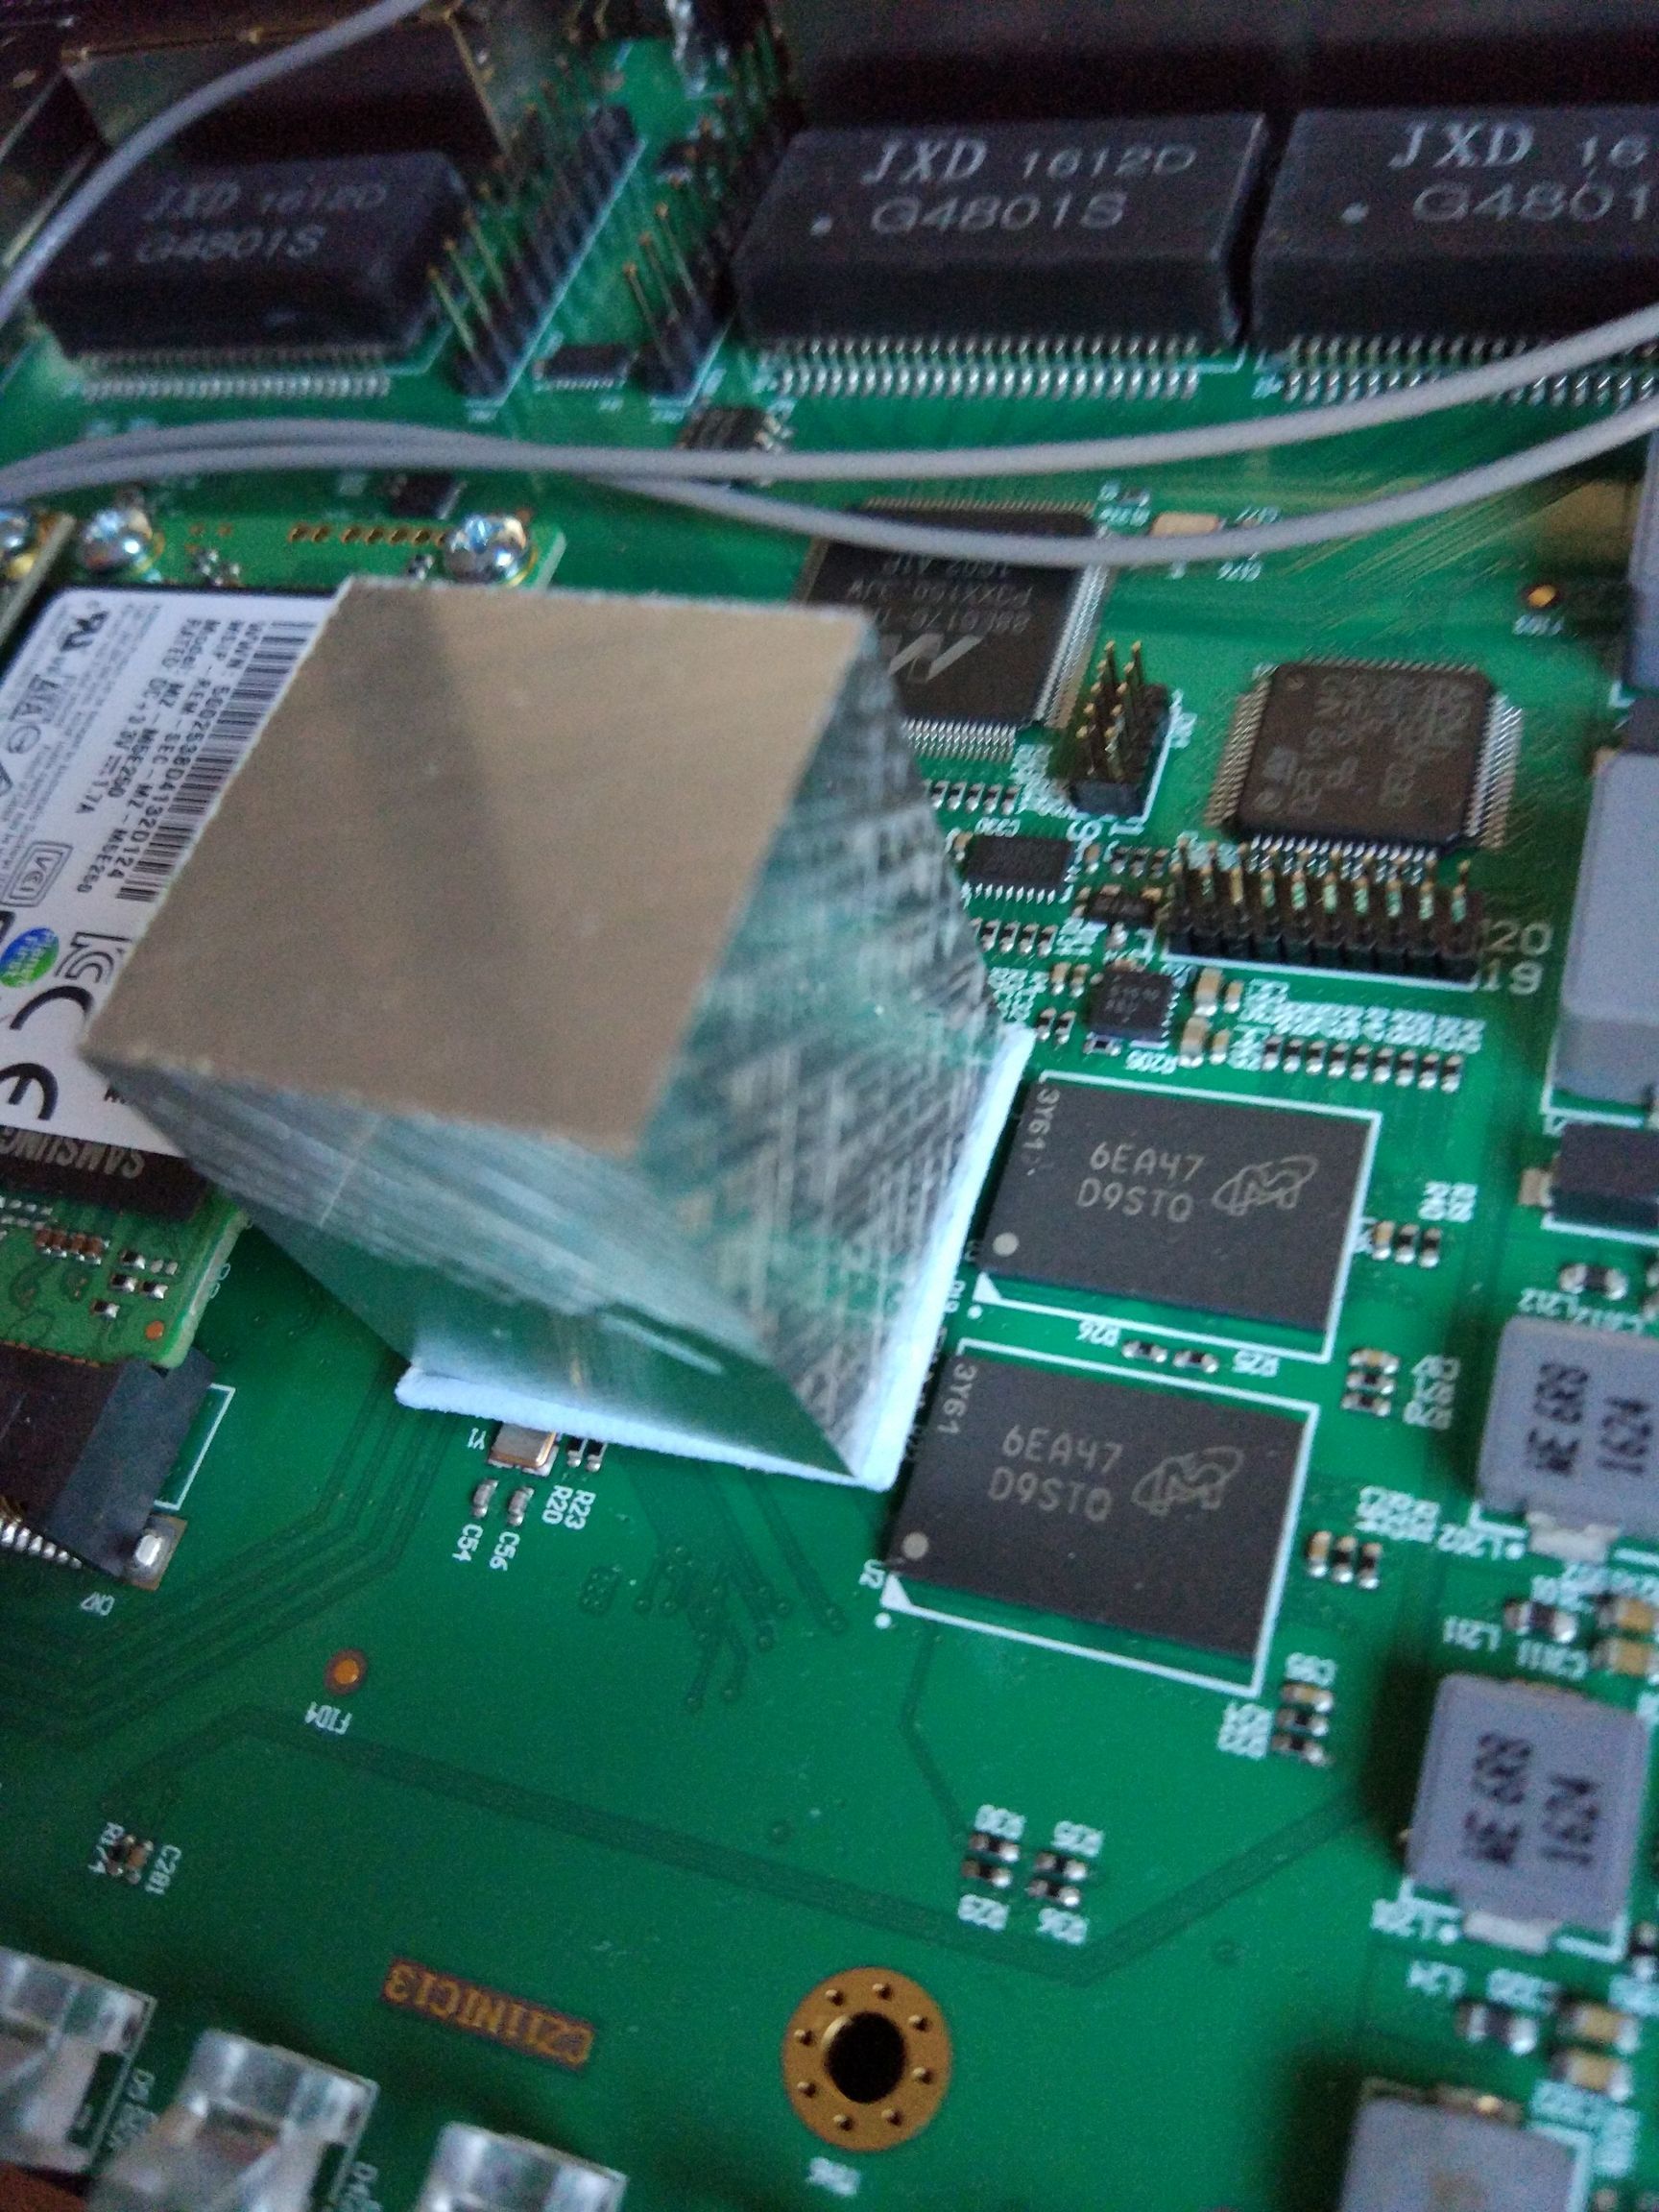
the heatsink its the stock aluminium Block that cames with case. No fan
thermal past for me its no a option becase doesnt make presure with case and
It’s a nice design, but the question what we have to ask our self. Does design benefit from losing the heat that is gaining?
If i would follow logic, i would say, make it possible that through the wholes on the sides of the Omnia, would come even a little breeze that takes the heat away the through the other side. So the design that you have isn’t really guiding the heat away if a little breeze would come through one side of the Omnia.
It would be interesting to replace aluminum thermal bridge for copper thermal bridge (thermal conductivity of copper is more than 1.5 better than alumin). Didn’t you try it?
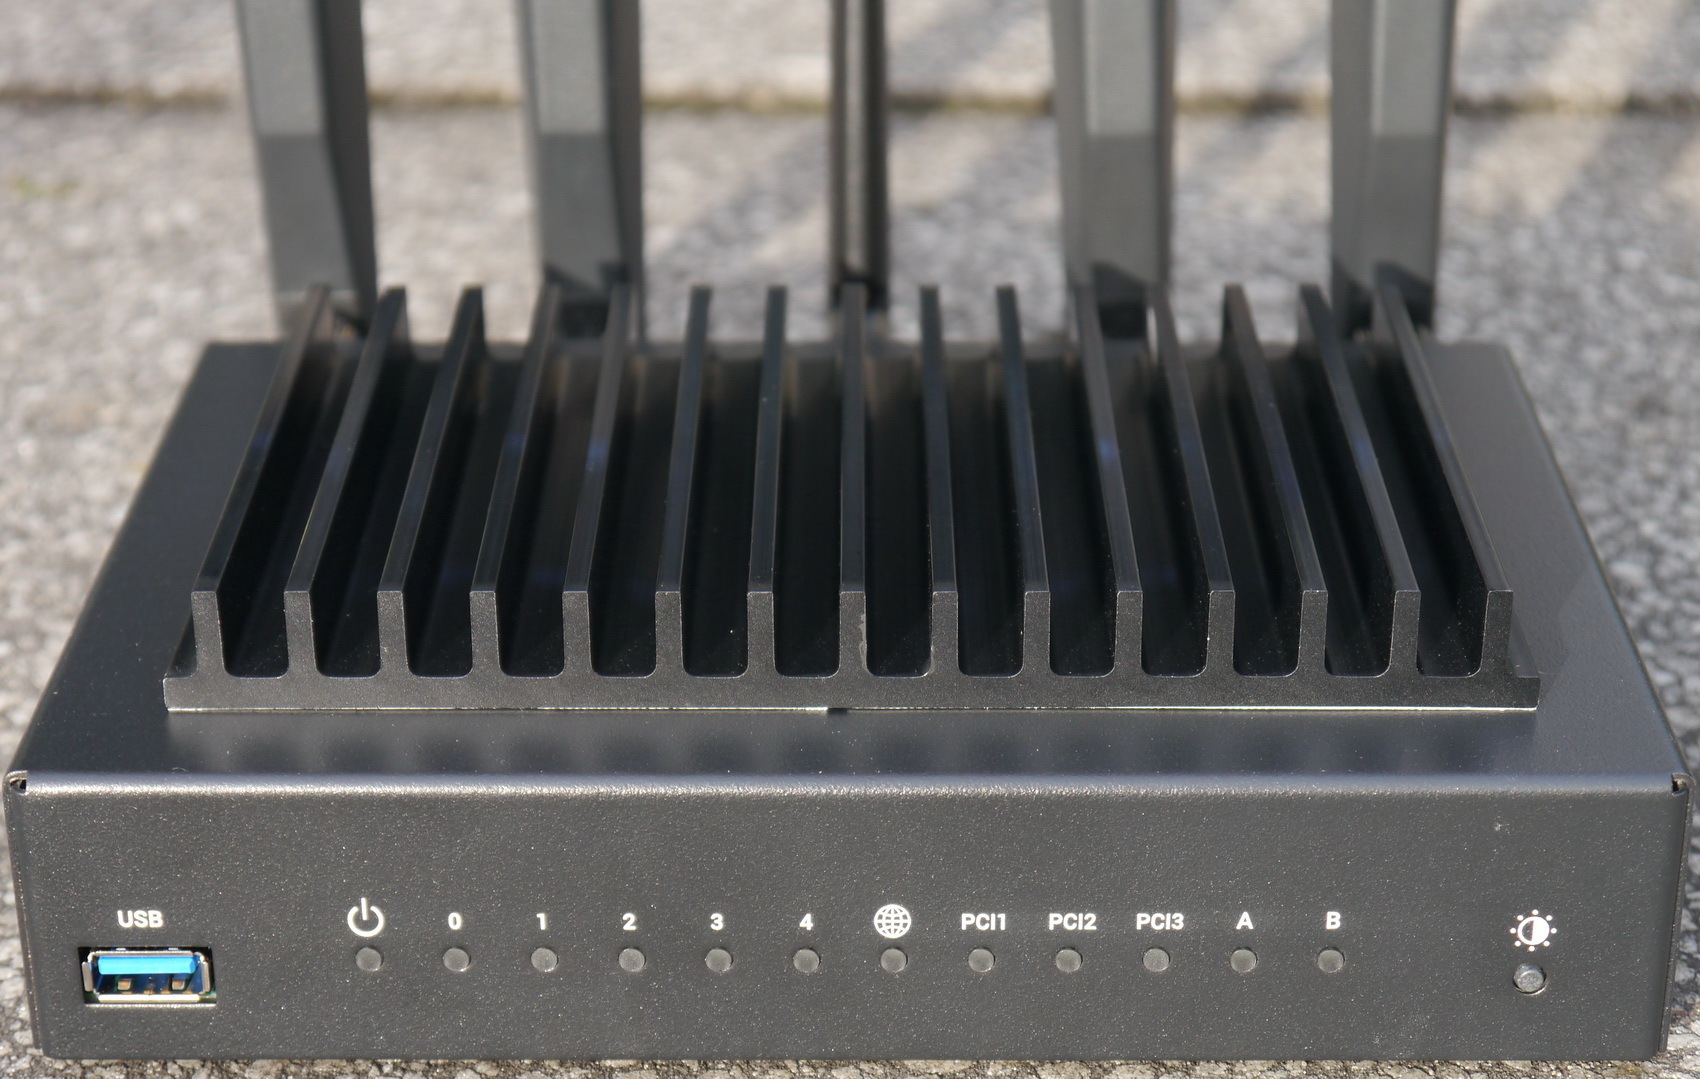
Hello, interesting! I am not sure how passive block is sealed down there, if it doesnt use glue or something, as I didnt see mechanical press spring or something.
i dismounted the cooler (aluminium block) and changed the Sticky pad from processor with quality pad (arctic thermal pad.) the top sticky i changed too with arctic thermal pad in my case with 2 layers of pad because i havent 1.5mm thermal pad
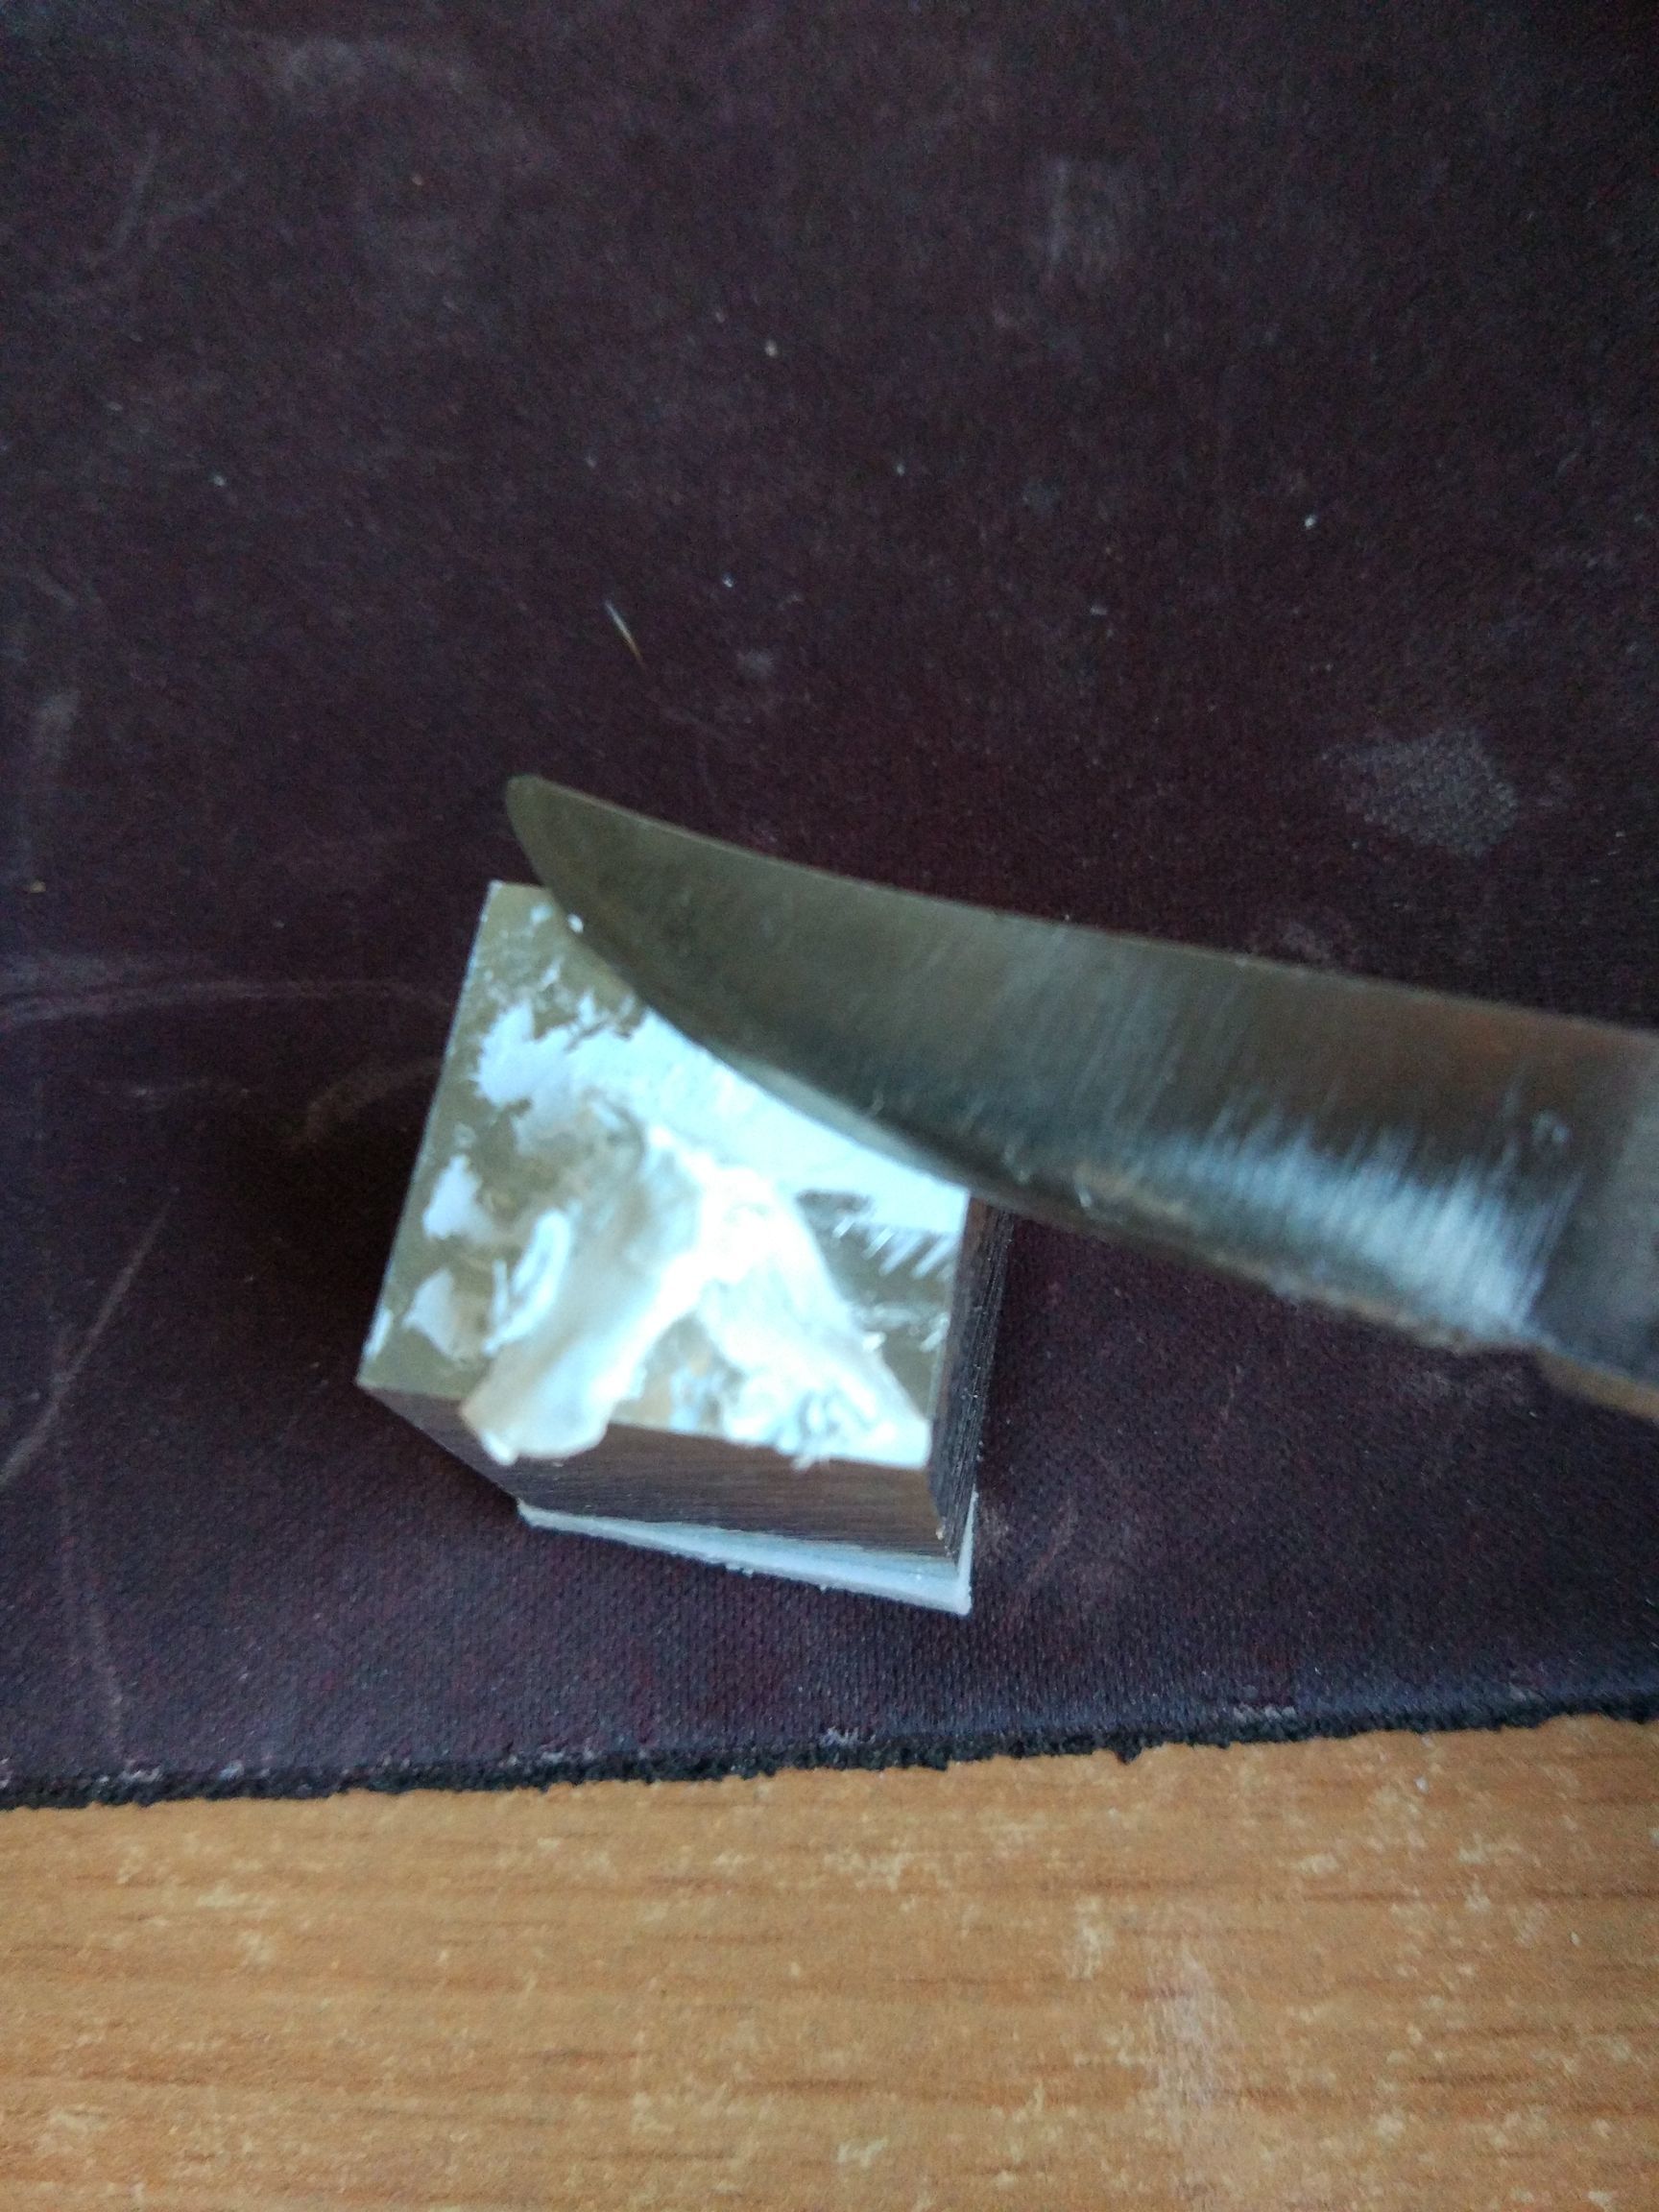
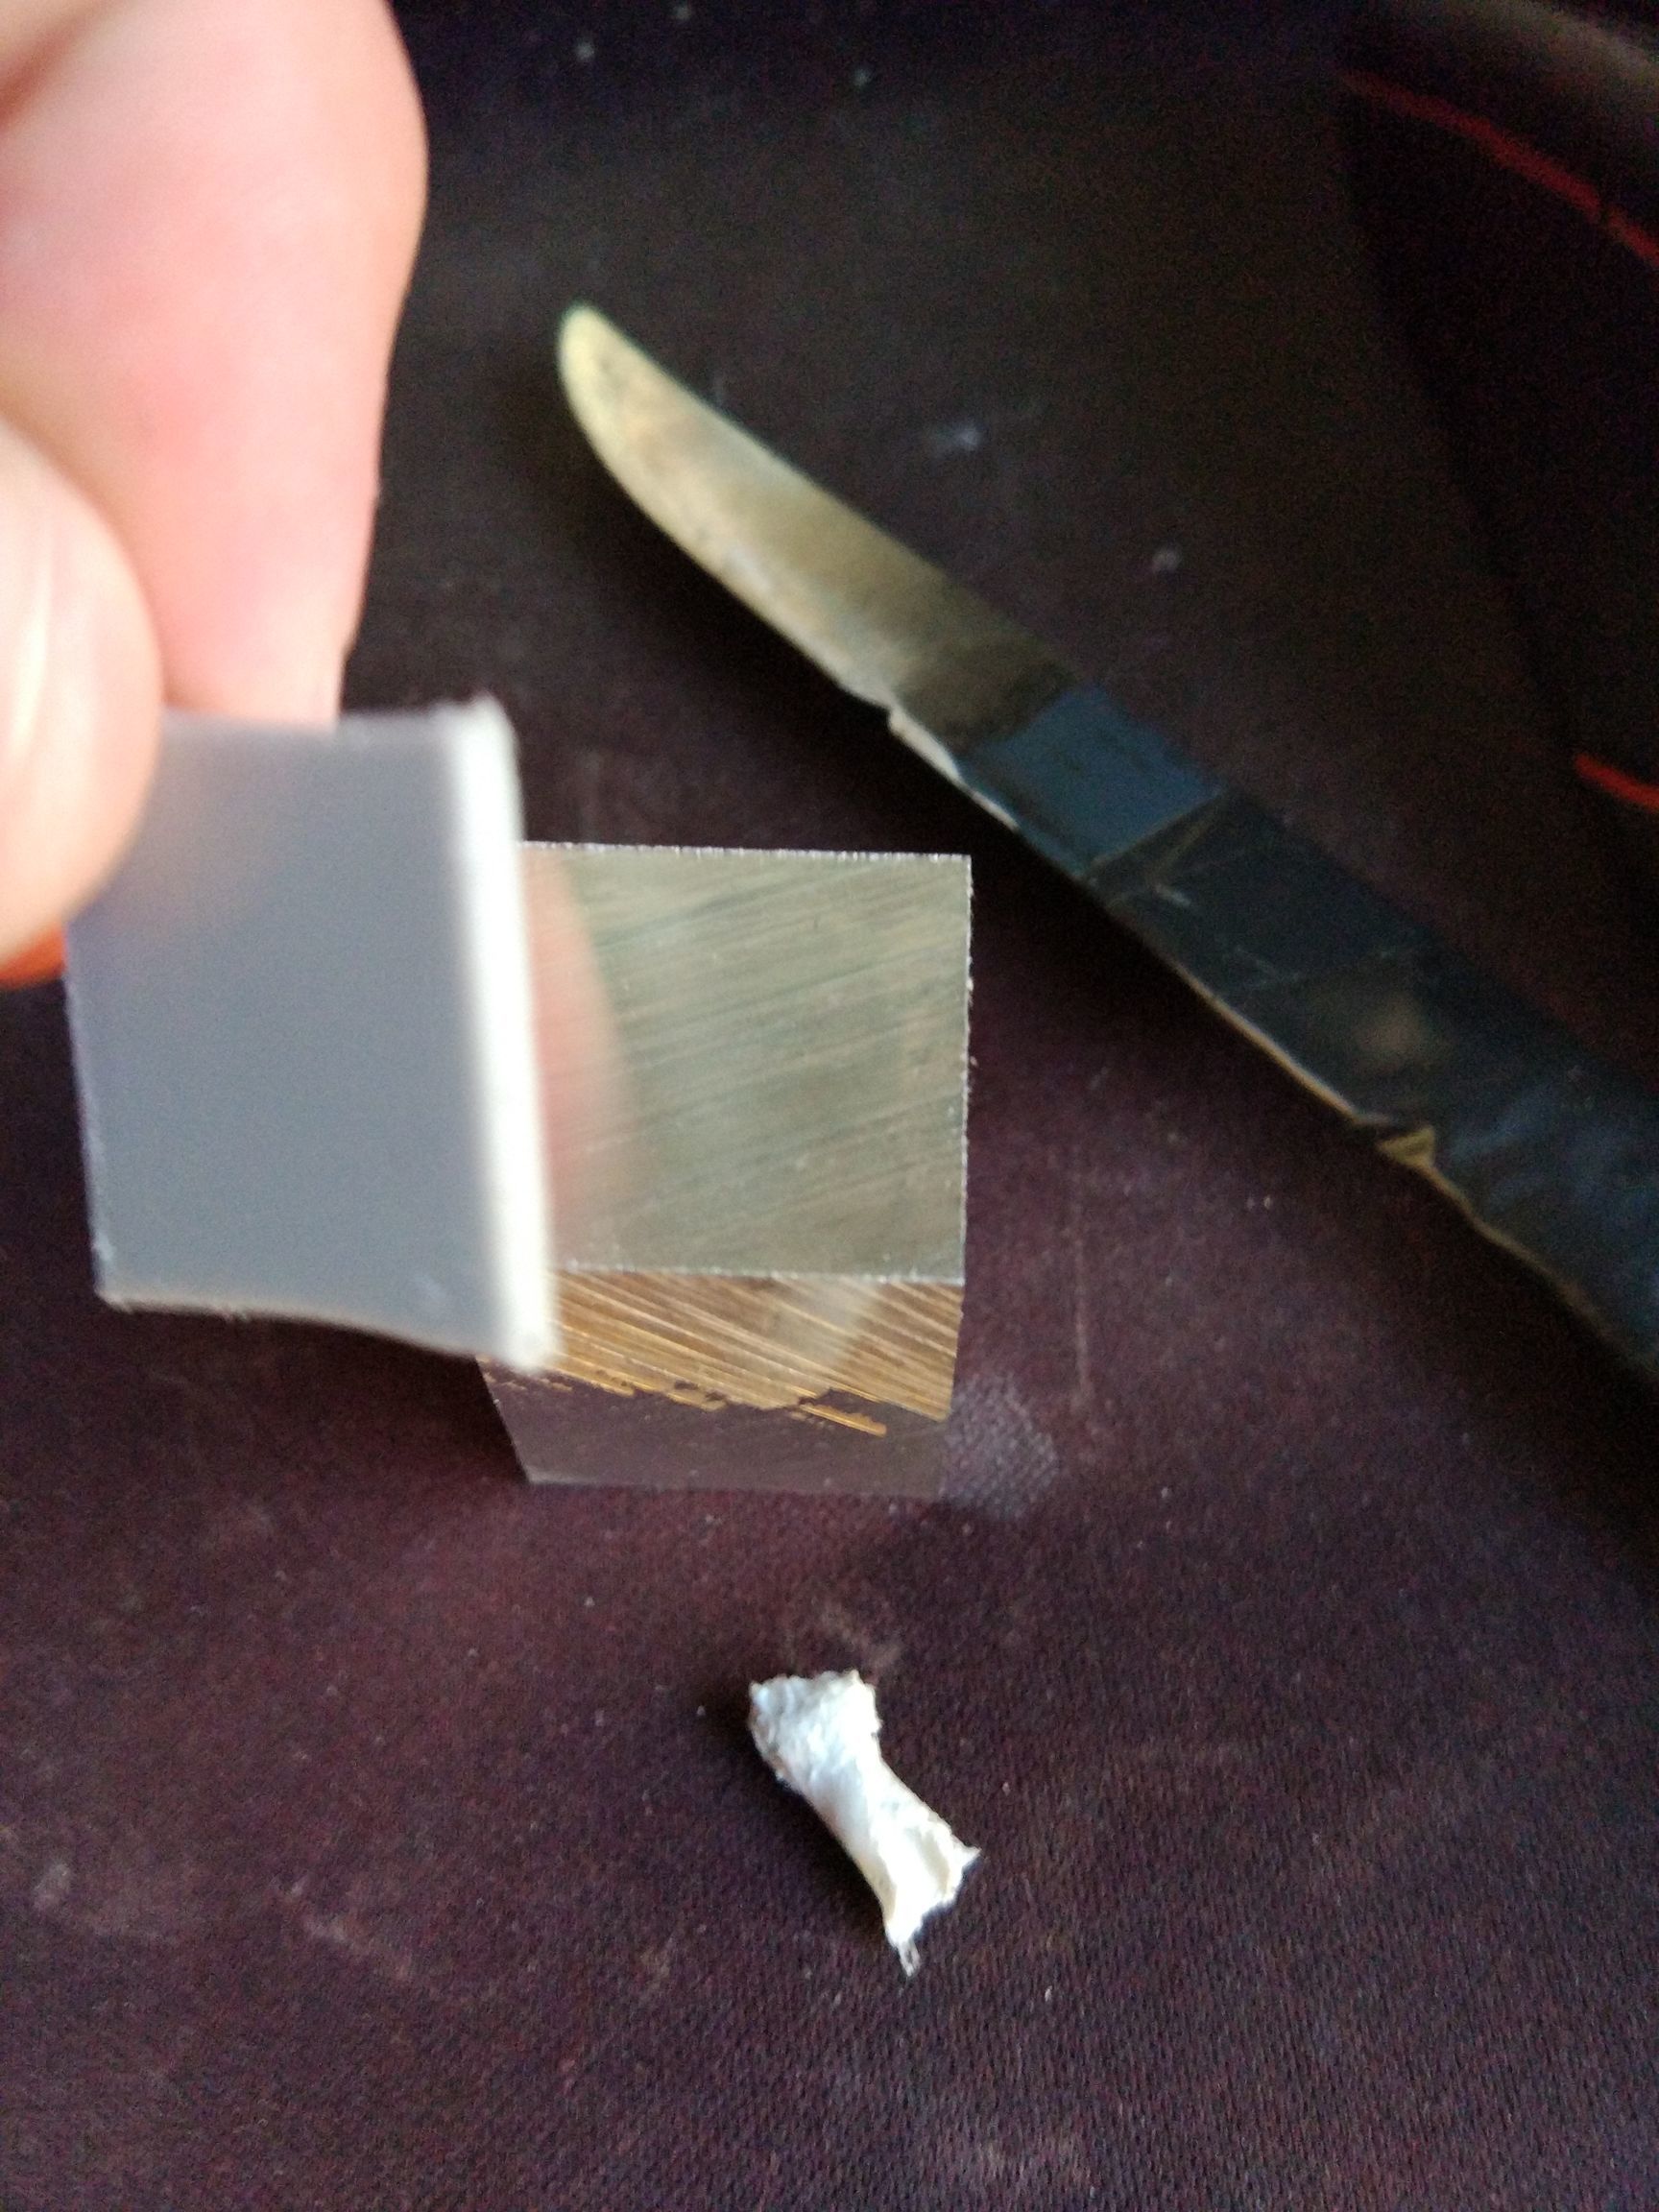
the sticky pad its easy to remove (its like double sided tape). i remember that sticky pad doesnt contact well with processor around the suface, so the problem its here because it isnt able to transfer properly heat
you can try with arctic ceramique but in my test i prefer thermal pad because act like and spring with the case and after test i get more stable temp along time
Other option its get adhesive thermal paste but i dont want anything permanent.
my recommendations its to get this http://a.co/8SNl4Jj put one on top and other in the bottom and see if the pad acts like a spring with the case.(i estimate that the clearance from aluminum block its 3mm so this pads its going to be perfect.)
The only issues it be careful when you move it because can be loose the alumium and make a short circuit
the top pad doesnt have good thermal conductivity after testing it compared to arctic pad.
Copper is better at conducting heat than aluminum, but aluminum is able to radiate the heat into the air better than copper because of its lower density. SO for this i prefer aluminium because only need to radiate heat
next test its put a thermal sensor to see the real temp on top the procesor (to see if the procesor sensor its OK o its have a error)
after test with original setup cooling . when i stress the CPU im getting 99 after 3 min. with thermal pad change i lowered it to 79 (20ºC less!!!) in full stress
remove aluminium block from CPU and peel the sticky pad
after this in my case its peel of the protective foil and stick on the top (remember i haver only 1mm so to make 2mm i sticked together) and put on the top